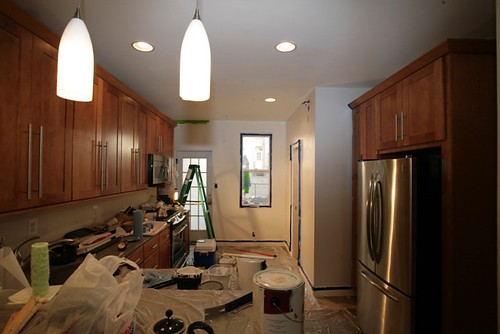
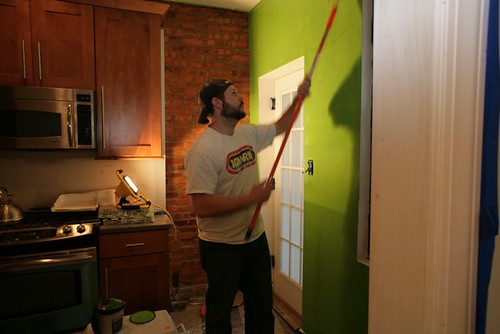
During renovations Beancountingqueen and I have been dreaming of greener pastures, a.k.a. a place with a lawn. We peer at house listings longingly, emailing ideas back and forth. During this I have solidified things I want in the next home. I bring to you...
The 8 Commandments of the Future House
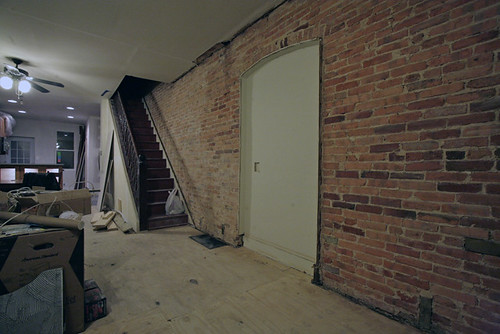
- 1. Thou shalt be a single family home - Living in a rowhome is pretty cool, but it doesn't offer the space that I'd like. Don't get me wrong, I really think rowhomes in Baltimore have great character, but a bit more space and some seclusion would be nice. Also, no townhomes.
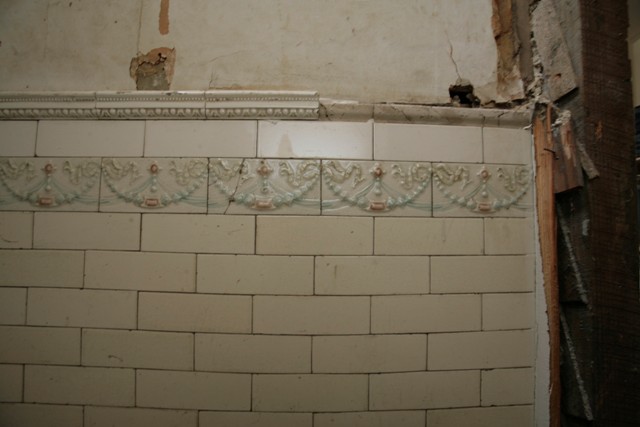
2. Thou shalt be an old house with character - No brand spanking new, vinyl sided houses for me. That may be fine for most, but I know if I decided to make it how I liked it inside it would still be a ho-hum box. I can handle an old cottage type home, a tudor, a colonial or a mid century ranch, but no homes built after 1990.
3. Thou shalt have a beautiful yard, with a house that is built just right for the lot - Having a big yard, by itself, doesn't cut it. A monstrosity of a brick façade jutting out a characterless lawn doesn't do it for me. We want something secluded; an oasis near the city where walking out into the yard feels like walking out into the woods. Yes, this means lots of old growth trees and the like. Some decent landscaping would be nice, but eventually I'll landscape the place all beautiful'n'stuff.
4. Thou shalt be close to city - Or at least far from frightening suburbs filled w/ chains and screaming babies. Children are lovely joy filled little beings… Some chain restaurants are ok… Chain restaurants filled with screaming, running, food slinging children kind of cramp our style. It's cool that some people are into that, but the Queen and I aren't so into it. At least not now. Or for a long time.
5. Thou shalt be cozy - We don't need a McMansion, just enough space for us. Anything above 3000 sq ft is too much. More maintenance, utilities, and furniture to fill rooms that we won't use. Nothanxkbye.
6. Thou shalt not be completely done - One of my favorite books is Ayn Rand's 'The Fountainhead'. I am also a fan of the Myers Briggs personality test. The book's main character, Howard Roark, is an architect that builds homes that fit the building site. My Myers Briggs personality type, INTP - The Architect, quotes Ayn Rand describing Howard Roark,
- "He was looking at the granite. He did not laugh as his eyes stopped in awareness of the earth around him. His face was like a law of nature-a thing one could not question, alter or implore. It had high cheekbones over gaunt, hollow cheeks; gray eyes, cold and steady; a contemptuous mouth, shut tight, the mouth of an executioner or a saint. He looked at the granite. To be cut, he thought, and made into walls. He looked at a tree. To be split and made into rafters. He looked at a streak of rust on the stone and thought of iron ore under the ground. To be melted and to emerge as girders against the sky. These rocks, he thought, are here for me; waiting for the drill, the dynamite and my voice; waiting to be split, ripped, pounded, reborn, waiting for the shape my hands will give to them.
Reading this makes me want to split trees and cut granite. Of course I've done neither, but this is but a small detail.
7. Thou shalt have a basement, preferably a walk out - The basement will be dubbed the man space. Women shall be forbidden from entering the testosterone lair.
8. Thou shalt have a walk-in closet (or the ability to add one) - The Queen added this. Men don't care about this stuff - see testosterone lair above.
The Queen said the above list severely limits our option. I'm ok with this. If the cottage is still around, and has dropped in price quite a bit then we can consider it. If not, my house will be pretty cool by the time it's done. We're also on the lookout for other options, as more and more houses are sitting on the market.
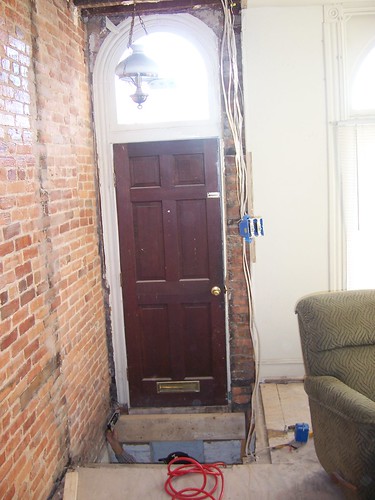
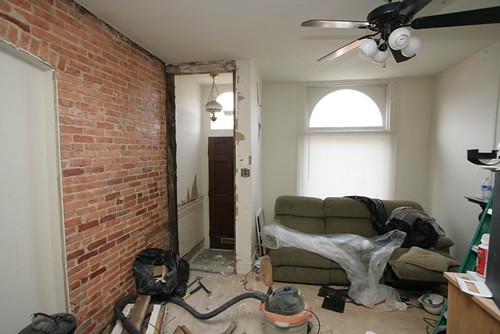
In the meantime there are many things to do to the rowhouse, like some built in bookshelves and the like, so there is plenty of time to experiment. Before my house in in sellable condition is probably 3-4 months of work ahead, so there is plenty of time, but if anybody knows of a chemical I can sprinkle on the cement in the back yard to make it sprout a lawn please let me know. This could hold us over for a while.